Create and use email templates
Author.Email allows email templates, either designed using HTML, Author.Email’s own Email Designer, or by importing HTML templates from elsewhere.
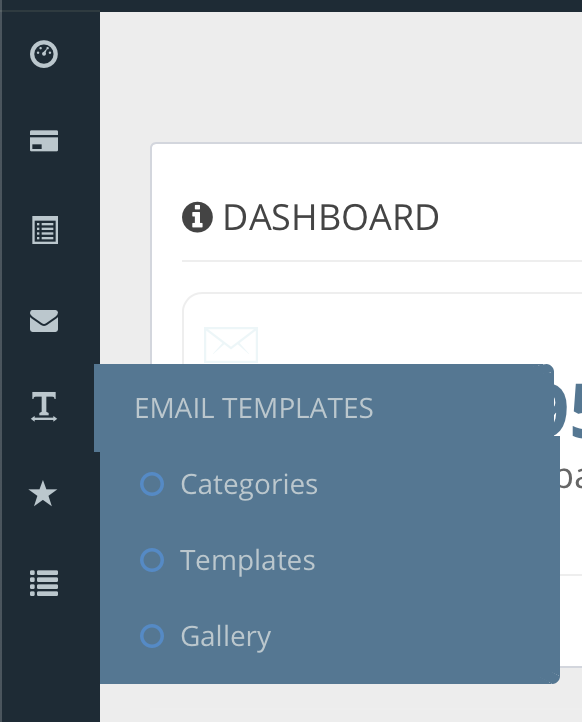
To access your template library, click “Templates” on the “Email Templates” menu option on the left-side menu:
In your template library you’ll see all the templates you have previously created, categorized (you can assign each template into a category). You can have as many templates as you’d like!
To create a new template, you have three options:
Build a template using Author.Email’s HTML template engine:
Our HTML builder is a standard “WYSIWYG” editor (“What You See Is What You Get”), and offers basic HTML font and design tools. To create a template using this editor, click the “Create New” button:

Then, you can add your content to the template. Add your logo as a center-aligned header, your “footer content” like the required [COMPANY_FULL_ADDRESS] tag, an [UNSUBSCRIBE_URL] tag, etc.

Don’t forget to save your template by clicking the button at the bottom of the screen!
Build a template using Author.Email’s Drag-and-Drop template engine:
Because every email inbox is different, some HTML elements show up differently for every recipient (and some things don’t show up at all!). For that reason, Author.Email built the first-ever (and, to our knowledge, only drag-and-drop email editor — an editor that builds emails that are guaranteed to look great when they land in your subscribers’ inboxes, no matter what.
To use the Drag-and-Drop template engine, just click “Create New (Drag & Drop Editor)”:

Then, just start designing your template by dragging (and dropping) elements into your emails from the section gallery on the right side of the page:

When you drag in an element and then click on it inside the template, you’ll see another menu on the left that lets you change the design and parameters of that particular element:

You can change the font type, style, and size, as well as align the content within the particular block. However, your options are limited, and this is by design — whereas an HTML editor will allow you create a template that looks great on a web browser, that same content may not look good (or display at all!) in your subscriber’s email inbox. Author.Email has simplified the template creation process in order to help you build emails that actually get to your subscribers’ inboxes intact.
Additionally, you cannot add an image inside a text block, and vice versa. You must choose the element you would like from the section on the right, and then you are limited to the format/layout of that element.
Build a template by importing another HTML template:
If you need to import a template from another provider, simply create a new HTML template (not a Drag-and-Drop template) and then click on the <source> button. Click <source> will reveal the HTML code of the template:
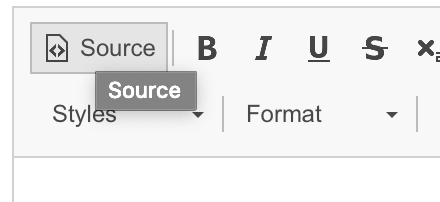
Copy/paste the HTML template’s source code into the editor, and then click <source> once again. You should see your template rendered! Now, just replace any tags you were using with the Author.Email tags (here is a list of the tags you can use in your templates and emails).
Don’t forget to give your template a name, and (if you want) add it to a category (you may have to create a category first if you have not already). Categories are optional, but they are a great way to keep your templates organized!