Creating an Autoresponder Sequence
An autoresponder is a pre-written series of emails that get sent out on a schedule. Other services call this “drip” or “marketing automation” email sequences.
Building an autoresponder in Author.Email is easy — it’s just like creating a campaign, but instead of scheduling the campaign for a set date in the future (or immediately), you can set it to automatically send a certain amount of time after a user joins the list. By creating multiple autoresponders, you can schedule autoresponders to send a certain amount of time (months, weeks, days, hours, etc.) after the previous autoresponder is sent.
To create a new autoresponder:
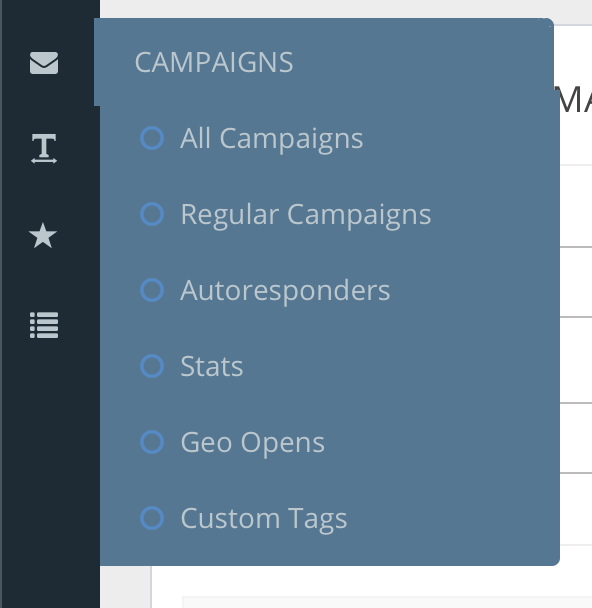
1. Click on the “Campaigns” menu item, and then on “Autoresponders”:
2. Click on “Create New” (note: this is how you create regular campaigns and autoresponders):

3. Under the first step (“Details”), choose “Autoresponder” beneath the “Campaign Type” dropdown menu:


4. Create your autoresponder’s content as normal. You can use templates, custom HTML, or plain-text.
5. When you’ve finished creating your autoresponder’s content, schedule the autoresponder on the last step. You can choose to send the autoresponder at any moment after the “Autoresponder event” (after someone subscribes to your list, or after a previous autoresponder is sent or opened by a subscriber). To schedule the autoresponder, simply choose a “time value” (a number) and “time unit.”
For example, to schedule an autoresponder campaign to send a day after signup, type the number “1” in the “time value” box, and then leave “Day” as the “time unit.” In effect, you will schedule this autoresponder to send “1 Day” after signup.

6. There are some advanced features you can use to schedule autoresponders as well. For example, you can schedule the autoresponder to send after a previous campaign (or autoresponder) is opened or sent, and you can schedule the autoresponder to send only after a certain specific time.

7. Current and imported subscribers can be included in this autoresponder campaign using the last two dropboxes on the confirmation page:
Include imported subscribers: By including imported subscribers, you are telling Author.Email to include any subscribers you import manually (e.g. by uploading a .csv file of subscribers).
Include current subscribers: By including current subscribers, you are telling Author.Email to also send this autoresponder to subscribers who are already on your list. This feature is a great way to “catch up” your list to current emails.